Incident management is a helpful way for your entire team to stay on top of important issues and collaborate on resolving them. Incidents can be declared across issues monitored by SYNQ, such as anomaly monitors, transformation layer tests (dbt, SQLMesh, Coalesce Transform), and failing Airflow tasks.
 Benefits of declaring incidents
- Collaborate with your team on resolving issues keeping comments and status changes in one overview.
- Track and monitor ongoing incidents and who’s working on them.
- Review past incidents.
Open incidents
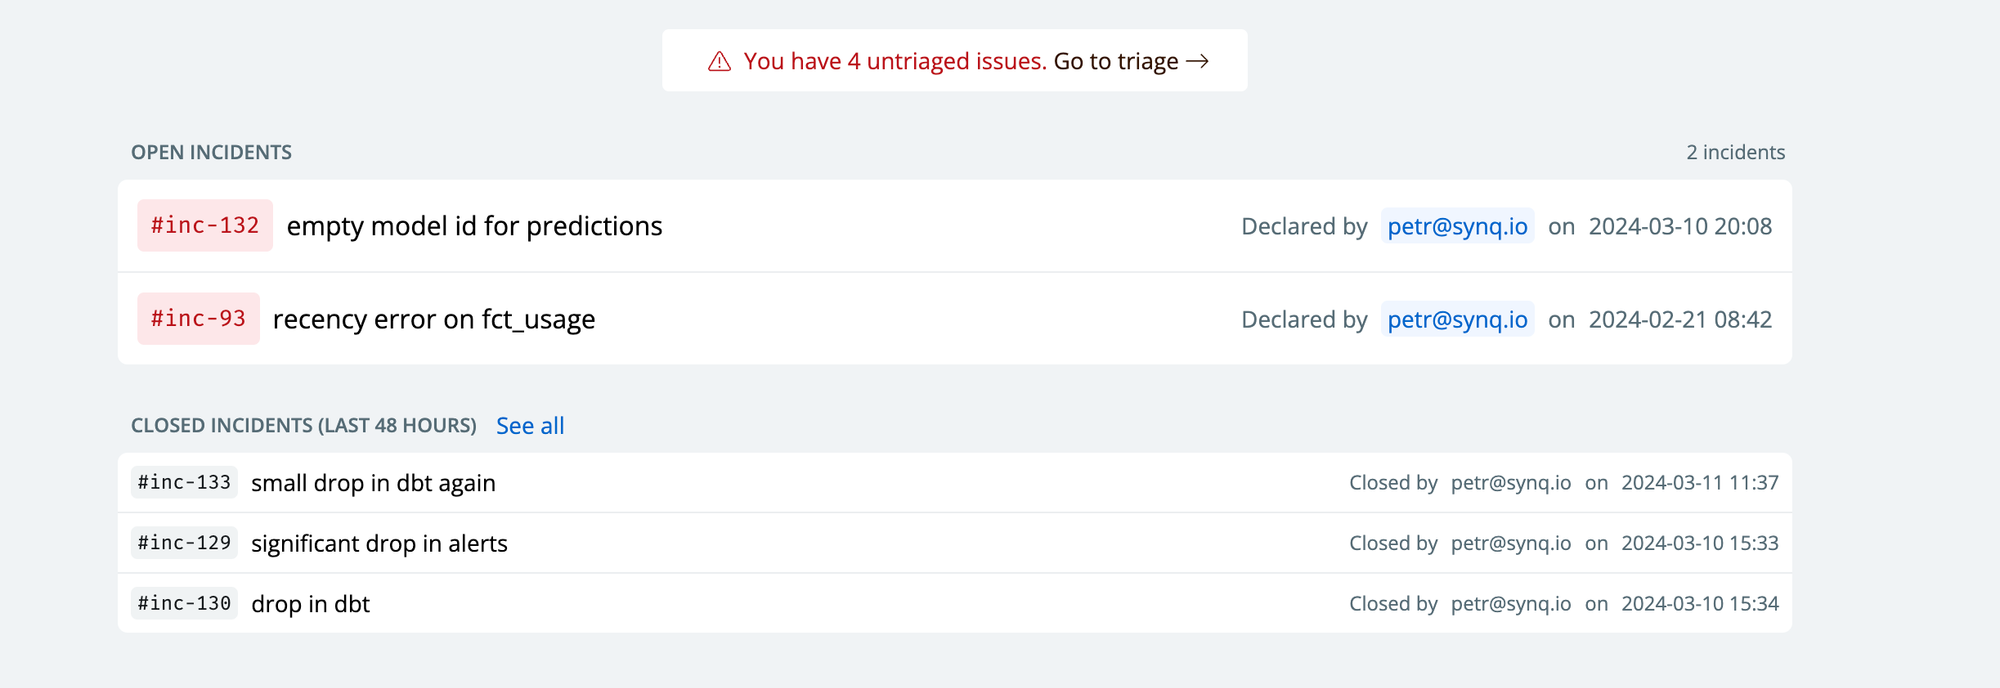
SYNQ gives an overview of open, closed, and untriaged incidents to easily track what’s being worked on and by whom.
Declaring an incident
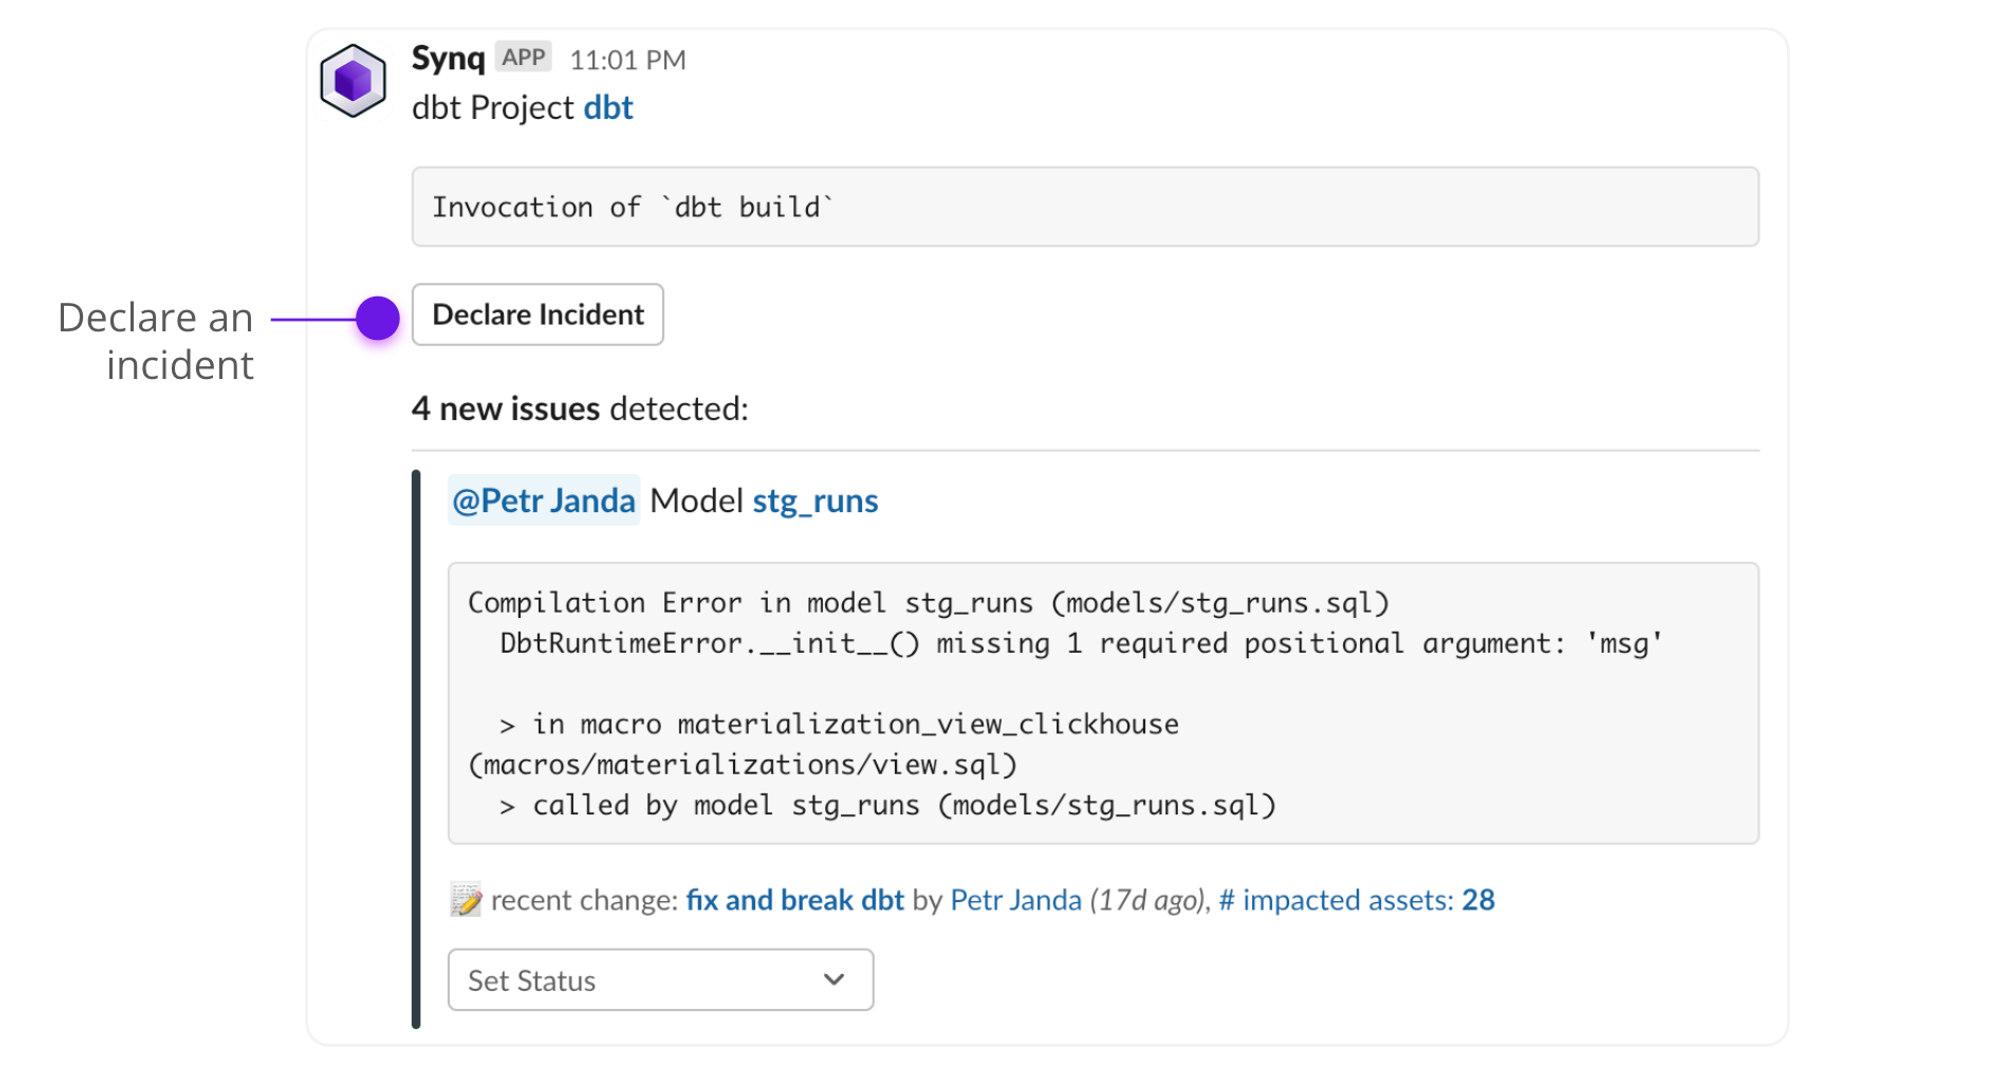
Incidents can be declared through Slack alerts or directly in the SYNQ UI. When you declare an incident, name it so it’s easy for everyone to understand (“duplication error from prod services impacting the ad-bidding ML model” is better than “issue with transformation model”).
Declaring an incident from a Slack alert
 Declaring an incident from the SYNQ UI

When to declare an incident?
There’s no one-fit-all solution for what makes an incident. We’ve seen two approaches work well.
- For teams with few issues, all issues are declared as incidents
- For teams with many ongoing issues, only P1 issues are declared as incidents (read more about how to assess the cost of incidents here)
Prioritising an incident
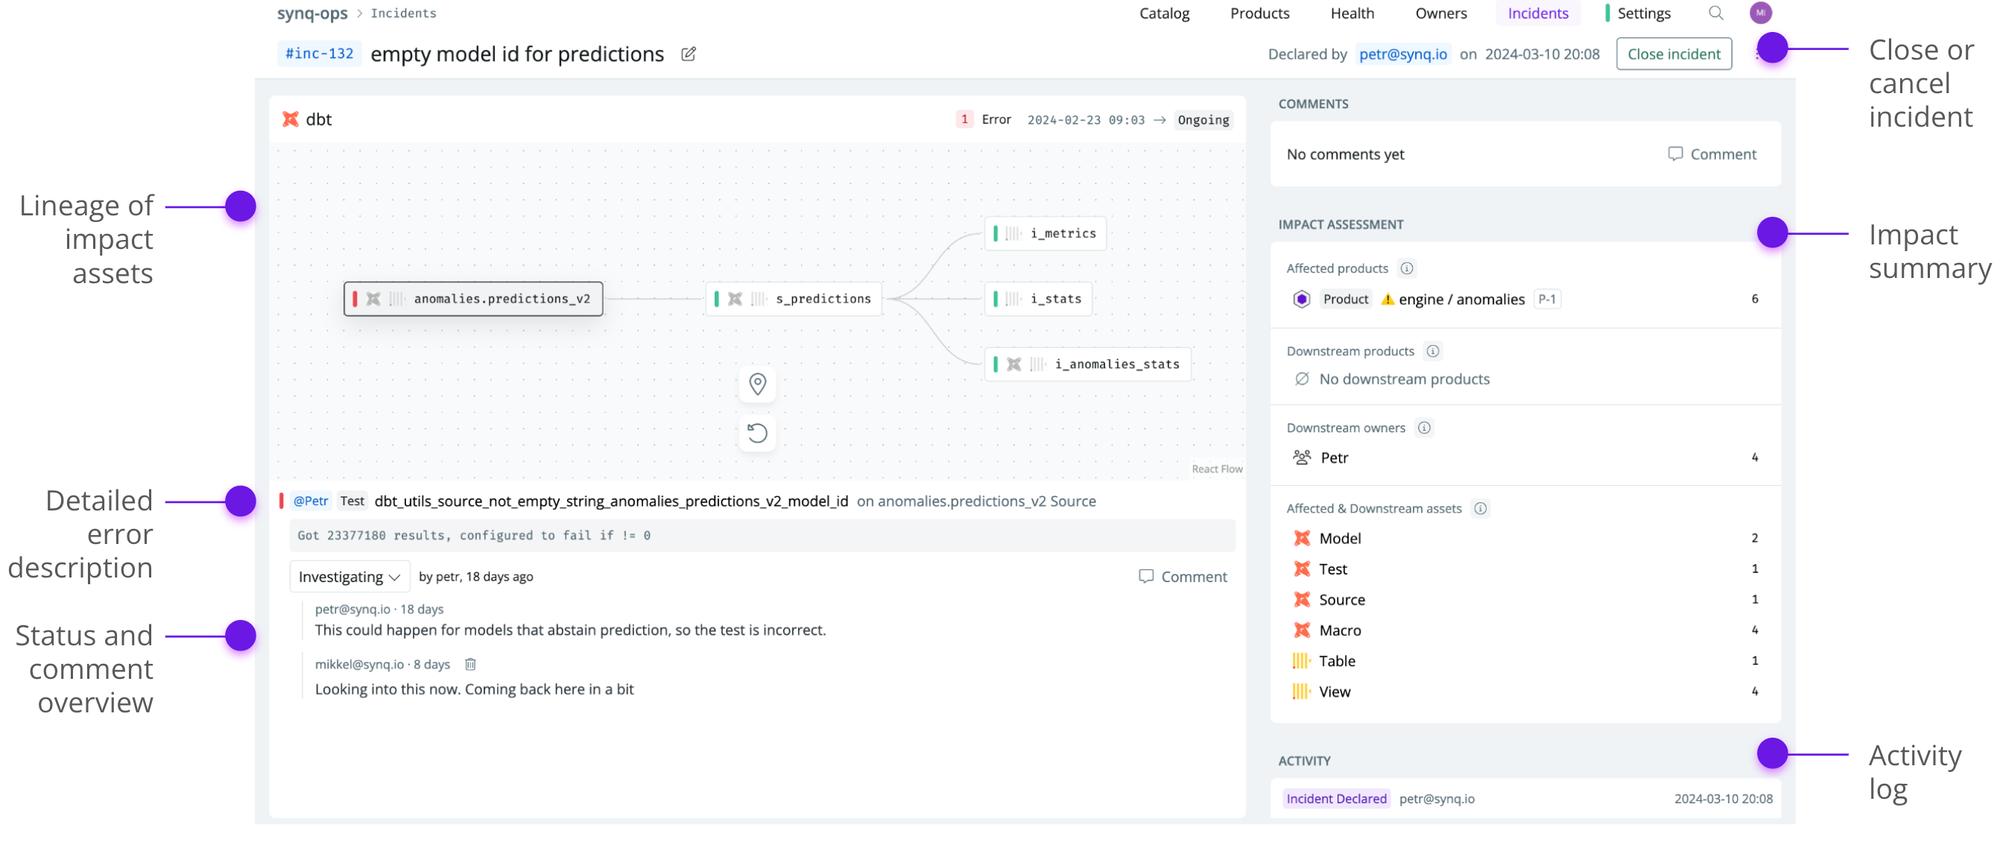
Not all issues are equal. Some require that you drop everything and fix it, while others can wait until the end of the week. Use the impact assessment to get an overview, including affected products, downstream products, downstream owners, and affected & downstream assets. Clicking any group will show you the specific assets that are impacted.
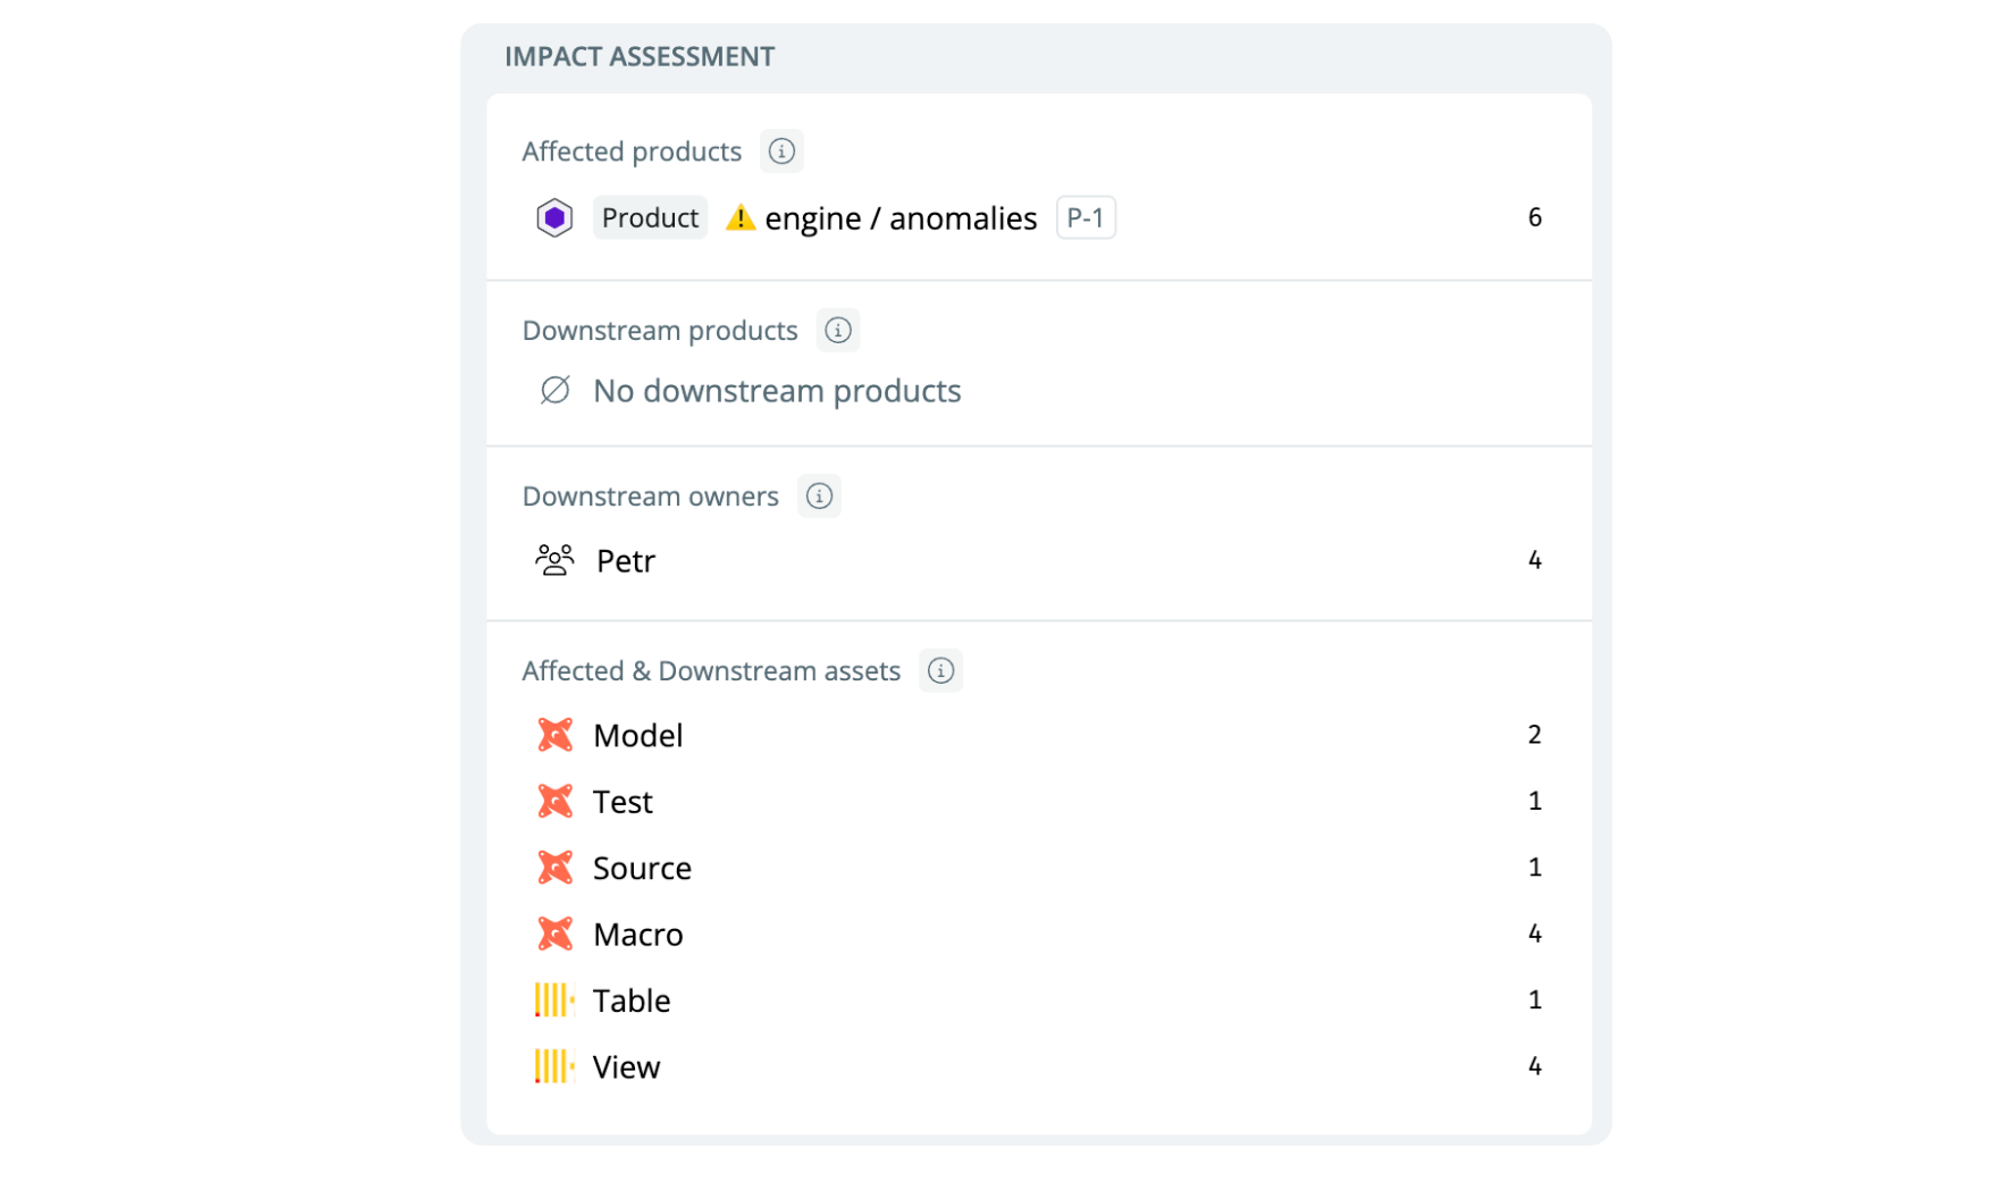 You can also use the in-built lineage to narrow down impacted assets. For example, use the column-level lineage filter to narrow down the range of impacted assets.
Collaborating on issues
To indicate you’re working on an issue within an incident, change the status to Investigating. This lets everyone else see you’re on it. The activity overview shows how the status of the incident has changed over its lifetime. This is particularly helpful when an incident spans multiple issues, as not everyone may work on the same things.
 Use the comment section to make updates as you progress on investigating the incident.
If you use Slack, you can add a comment about the internal incident channel (e.g., #inc-user-stats-12-03-2024). This makes it easier to keep communication in one place and helps other people get up to speed if they return to the incident without having all the context.
Closing or canceling an incident
Incidents self-resolve if the issue on the underlying asset is solved. This is visible in the SYNQ UI, with the following banner on the incident. You still have to close the incident to move it to closed incidents.
 You can close or cancel an incident using the Close incident button in the top right corner or Cancel incident behind the three dots. You should close the incident once it’s been resolved, and you want to keep track of it and use cancel in situations where the issue didn’t justify an incident.
Reviewing past incidents
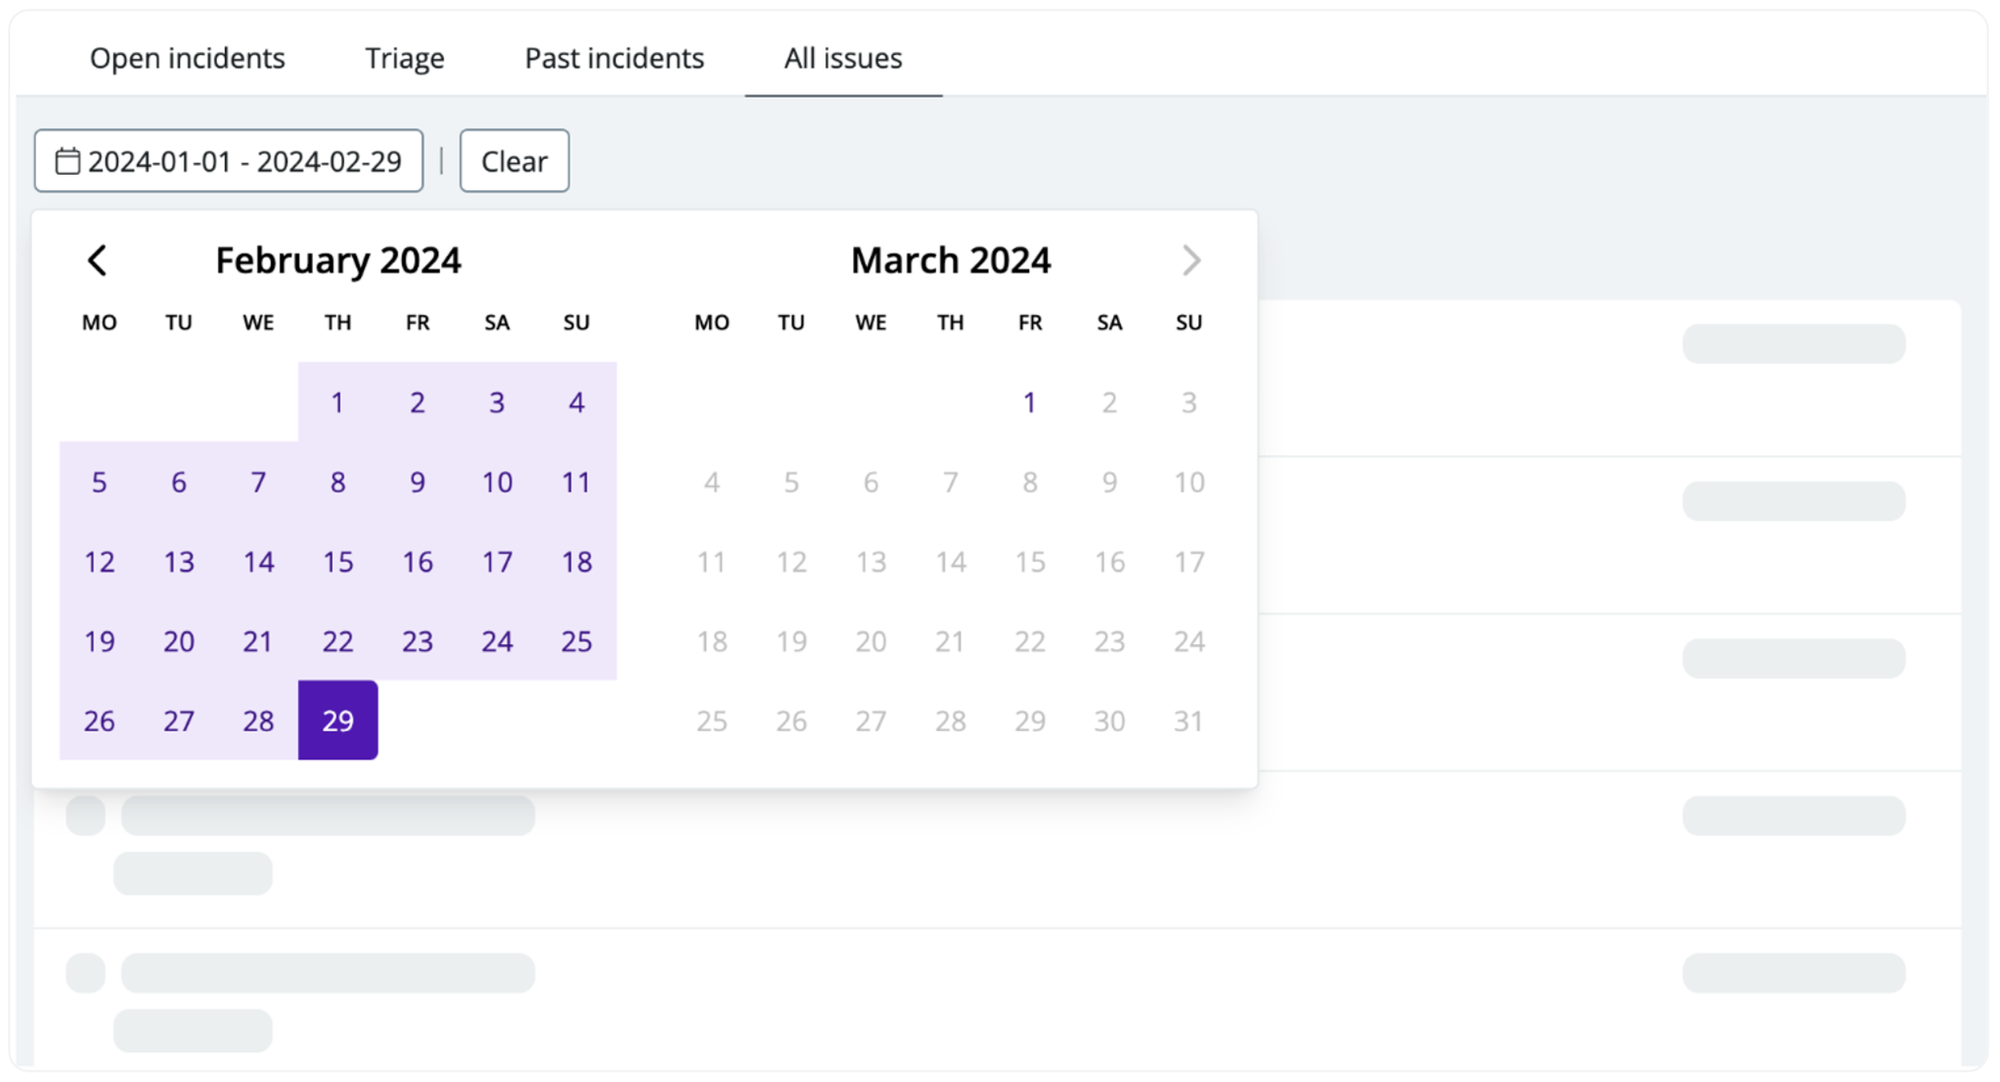
The Past Incidents screen lets you see all past incidents and filter by a date range. This is helpful if you want an overview of the number of incidents you declared in a time frame or if you’re looking back to investigate what happened at a specific time.
Bringing incidents across SYNQ
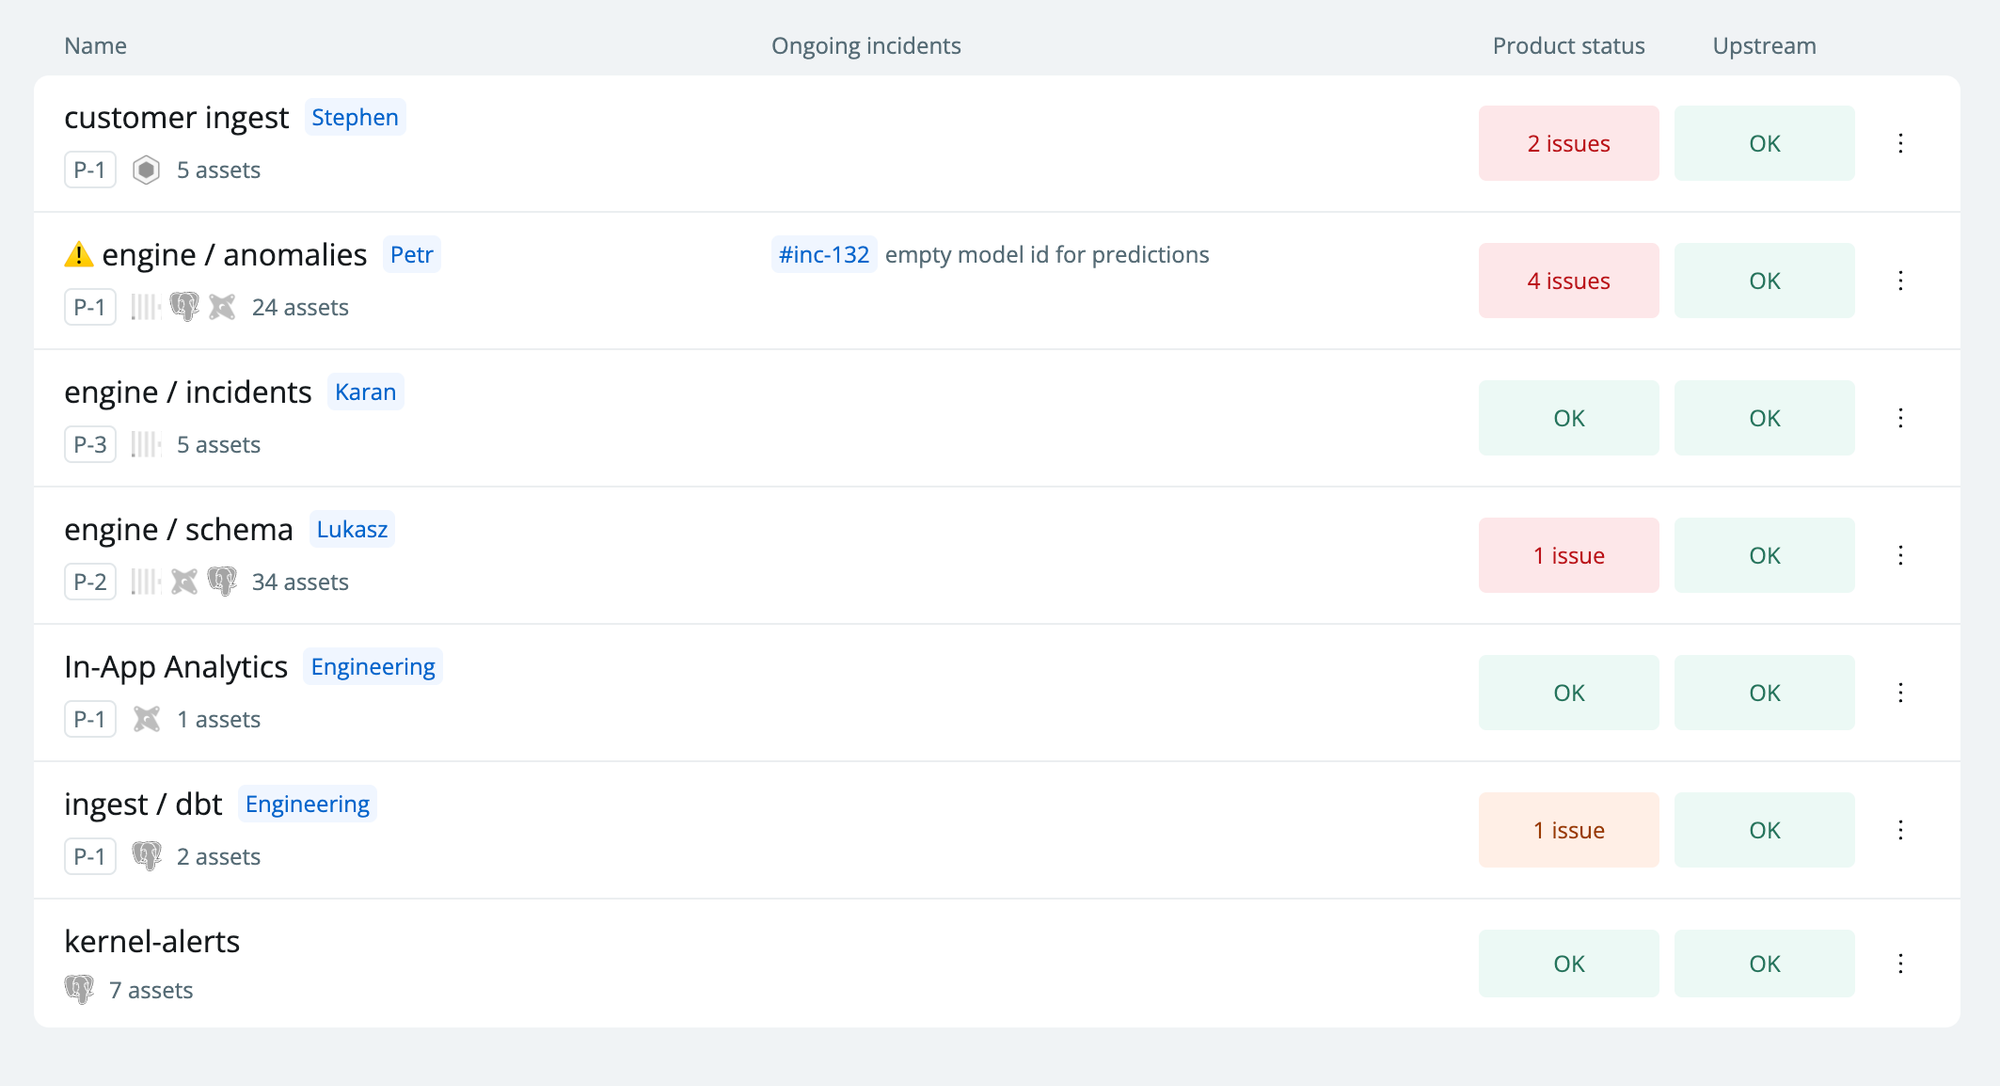
We’re continuously integrating incidents in core SYNQ workflows. One example is showing ongoing incidents for data products so everyone can immediately see that their data may be impacted.
